Every successful search begins long before the detector is switched on.
Every detectorist knows someone who always seems to make good finds. Over the years I’ve often been asked what their secret is. Is it luck? Is it the latest detector? Or is there something else?
Looking back over more than fifty years, I think successful detecting depends on three ingredients.
- Research.
- Equipment.
- Persistence.
Miss any one of them and your chances of success are reduced. Put them together and you’ll greatly improve your odds of making worthwhile discoveries.
I’ve owned many machines from a simple Goldfinger BFO to modern detectors costing many times more. Every one of them taught me something, and every improvement in technology has made certain aspects of detecting easier. But I’ve also learned that even the best detector can’t compensate for searching an unproductive site. Conversely, excellent research deserves to be matched with equipment capable of making the most of the opportunity.
Research – Finding the Right Places
If I had to choose the single most important ingredient, it would be research.
The simple truth is that all places are not equal. A detector can only find what lies beneath its search coil. If generations of people never lived, worked, traded or travelled across a piece of land, there is unlikely to be much to find, however advanced your detector may be.
Over the years I’ve learned to ask a different question. Instead of asking, “Where can I detect?” I ask, “Why were people here?”
That single question has led me to forgotten manors, lost mills, abandoned markets, ancient ports, river crossings, old fair sites and long-vanished roads. Every one of them existed because people had a reason to be there, and where people gathered, they lost things.
Modern technology has transformed the way we can carry out that research. Historic maps, aerial photographs, LiDAR, archaeological databases and digitised newspapers have placed an extraordinary amount of information at our fingertips. Yet they are simply tools. The real skill lies in interpreting the evidence and recognising the patterns of past human activity.
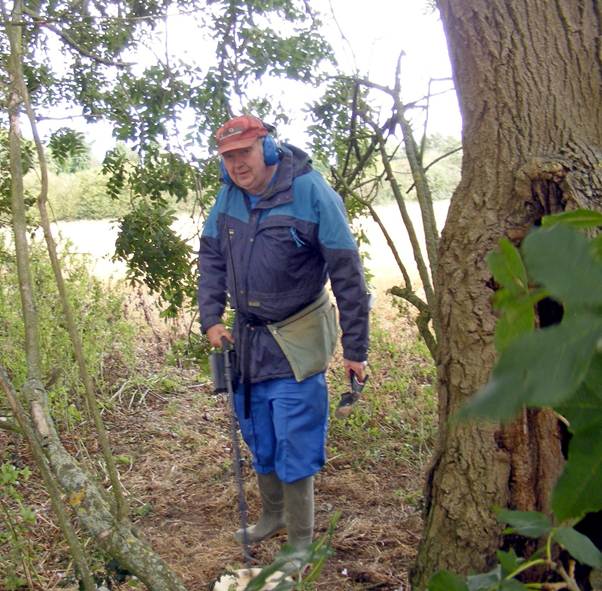
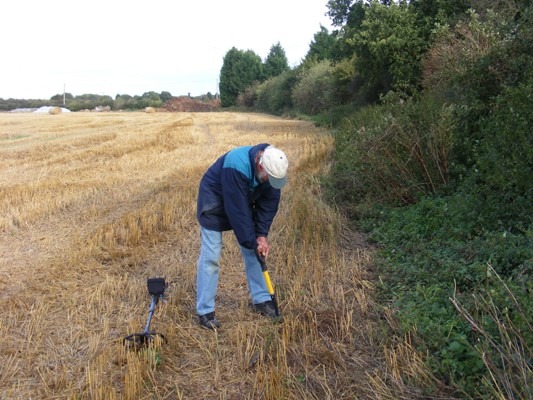
Equipment – The Right Tool for the Job
Research tells you where to search; your equipment determines how effectively you search it.
During the last five decades detector technology has advanced beyond anything I could have imagined when I bought my first machine. Today’s detectors are lighter, deeper, more stable and far better at separating desirable targets from iron rubbish.
Choosing the right detector, search coil and accessories for the type of site you’re searching can make a significant difference. Beach detecting, for example, often demands different equipment from searching a ploughed field or woodland.
Technology continues to improve, and we all benefit from those advances. The important thing is to use equipment that suits both your budget and the type of detecting you enjoy.
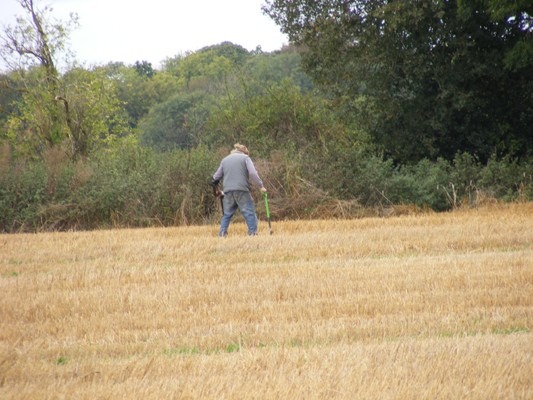
Persistence – The Ingredient You Can’t Buy
The third ingredient is persistence.
Some of my best sites produced very little on the first visit. Others only revealed their potential after repeated ploughing, heavy rain or winter storms had exposed deeper layers. I’ve returned to the same permissions year after year and been rewarded with finds that simply weren’t within reach on earlier visits.
Experience teaches patience. Not every outing ends with a memorable discovery, but every outing teaches you something about your detector, your research or the land itself.
Persistence also means continuing to learn. Every new map, every conversation with a landowner and every unexpected find adds another piece to the puzzle.
The Real Secret
People sometimes ask which detector I would recommend. My answer is usually that there isn’t a single machine that’s best for everyone.
The same is true of successful detecting.
Research without good equipment limits your opportunities.
Excellent equipment without research often leads to unproductive searching.
Neither achieves its full potential without persistence.
After more than fifty years in the hobby, I’ve learned that there are very few shortcuts. Good finds are usually the reward for good decisions made long before the detector is switched on.
Thank you for reading.
Until next time, may your permissions be plentiful and your signals worth digging.
David Villanueva
Recent Comments